Tuesday, June 18, 2013

Free Paint Project

***Disclaimer-This post was originally started in June of 2012. I only recently finished getting all of the after pictures and putting all of the finishing touches on this post. Last summer when I had my third child and started working on my master's degree I had no idea what I was getting myself into! I have had to learn to say no to additional commitments, loosen some of my expectations on myself regarding housekeeping and manage extra hours away from home to take classes and finish school work while working full time and being the primary caretaker for my family. While the past year has been very challenging, it has also been amazing! I am so proud of all that I have accomplished and feel so empowered that I can do anything I put my mind to. With three years left until I finish my degree, I still have a long road ahead of me, but know that all the struggles will be worth it when I finally become a school counselor.***

When I saw the commercials advertising a free quart of Clark and Kensington paint from True Value, I knew immediately what I wanted to do. The paint giveaway occured on a day that I was in Dubuque visiting my family, so I begged my mom to go with me. When we arrived the gentleman at the paint counter told me that the free paint was an interior flat paint and that they only had dark base left. Though I wanted a gloss or semi-gloss, the flat would work. And I wanted black, so the dark base was perfect. They mixed me up a quart of their color "Ace of Spades" and I was on my way. Since moving into our home almost three years ago, I have wanted to paint the buffet and hutch in our dining room. I bought the buffet at Goodwill several years ago for around $40 and loved it. Unfortunately when we moved the buffet did not fare very well and wound up scratched and a little worse for the wear. Being as the buffet is made of particle board and not solid wood, it looked more shabby than chic.
I took the buffet apart and gave it a light sanding so that the paint would have something to stick to. Then gave it two light coats of paint and finished it off with a coat of poly. We also added a new back to give the buffet a little more stability. After putting it back together I could not stop starring at what looked like a brand new piece of furniture. Even my husband, who was a bit skeptical, could not believe how good it looked!

After the buffet turned out so well, I could not wait to get started on the hutch. I purchased the hutch off of Craigslist for around $100 after moving into our house.
The hardware was a bit dated and it was also a little worse for the wear, but two coats of paint and a coat of poly made her look brand new again! I also removed the decorative brass, choosing only to keep the hardware necessary to open the doors.
Though I love the look of both pieces, I decided during the process that refinishing furniture is not for me! While painting the furniture I had the contents of both cabinets scattered all over my dining room and kitchen, making cooking and cleaning very difficult. The amount of time required to refinish the cabinets was also difficult for me as I have very little patience. I had difficulty waiting the appropriate amount of time to let the paint set well before doing another coat. Though the cabinets look great, I can notice some imperfections in the paint job, such as places that did not get even coverage or places where the paint had not fully dried before I tried adding another coat. I used a foam brush to add the poly to the hutch and wish that I would have waited to purchase another brush. I feel that the foam brush left more visible marks and lines in the poly. Finally, there was a lot of hardware with the cabinet and I wish that I would have separated the hardware to lessen the headaches I had with putting it back together! I learned a lot for the next time that I attempt to refinish something, but I think that it will be a long time before I decide to do something like this again!

Friday, May 24, 2013

Welcoming Entrance

The front door to our home, while nice, was definitely not our taste. It also was not very effective at keeping things out. The entire door frame could be rocked, water leaked in the bottom and it was difficult to close and lock. We called in our favorite home improvement company and looked through the overwhelming options. The first style we picked out was not available in our door size, but we persevered and found a second option that was perfect. We picked out the interior and exterior door colors, door handles, trim and finishing options and then began the wait. Five weeks later, they finally called to say that the door was in and they were ready to install. When I got home the first day I could not believe the progress they had made. Both our new front door and new patio door were in! They secured everything and came back the next day to finish adding the interior and exterior trims. The new front door is absolutely beautiful and I love how the red pops off of the yellow siding and pulls in the colors of our roof. The patio door gives us so much more light and air flow, as well as giving us easier access to our deck.

Here is a shot of both doors:

 And a close up of the patio door:

The front door:

Much different than the before before (pre-siding):
 
 
And the before (post-siding):
 
I absolutely love both of our new doors not only for the changes to the exterior of our house, but also because of the changes to the interior. We plan to install all new white moulding and white paneled interior doors eventually, and these doors gave us the start to this project.
 
Now that the doors are installed, I really need to finish caulking and painting the mouldings that I installed this winter in the entryway! I can't wait for summer to start to have a little more time to finish this and other projects around the house.

Monday, August 6, 2012

DIY Baby Sandals

I have been pretty busy lately with a newborn, a 3 year old and 5 year old, starting grad school classes and just keeping up with housework and family commitments. Despite all of that, I have been antsy to do some crafting.
My sister-in-law found some baby sandals for her little one and said that she thought they were something that I could probably make. After hearing this I went out and bought a pair of Toe Blooms to take a closer look. I figured that I could make some and began searching online for a tutorial. I came across this one from Laura at The Creative Muster and immediately went looking for supplies.
I was unlucky in finding any cotton jersey in the girly colors that I was looking for- all of the stores I visited had darker fall colors out. So I began to think about what I had on hand that I could use. I had a few cotton t-shirts in my fabric stash that I thought could work. I cut one apart and used the pattern from the Creative Muster as well as the Toe Blooms that I bought to create my own pair of baby sandals. The first pair was too big for my newborn, so I altered my pattern and made another pair. This pair fit perfectly, stretching just enough to fit and stay on my little girls feet.

I paired the sandals with a beautiful gray and pink dress for a wedding that we attended recently. My mother-in-law gifted us the kids matching clothes when our youngest was born. Aren't they just adorable!

Though time consuming- cutting out all of the pieces for the flowers and handsewing all of the tiny pieces together- the sandals were totally worth it! It was a perfect project to pick up and work on anytime I had a few free moments. The best part is that you can do it all by hand and do not have to be a great seamstress.
Though summer is almost over and the weather will be cooling off, I think that the sandals would also be cute with tights. I have made a pair in black and plan to make another pair in white. I would also like to play around with the pattern and see if there would be a way to make a pair that looks more masculine for boys. Things like this make me so angry that I did not come up with something like this myself!

Wednesday, June 13, 2012

A Tangled Birthday Party

Our oldest daughter Reese turned 5 last week, and we had several celebrations planned to mark the event. First, we planned on going out to lunch at Happy Joe's on her actual birthday, June 7th, when my husband had a work conflict. I had a doctor's appointment scheduled for that afternoon and began to think that if my midwife induced labor, I was five days from my due date, I would not be very comfortable or willing to go out to dinner. As a result, we decided to celebrate her birthday with a family dinner the night before. We went to Happy Joe's per Reeses' request and the kids had a blast playing all of the games and collecting tickets for their prizes. After eating too much pizza, they delivered a birthday sundae to our table and the entire restaurant joined in singing, "Happy Birthday!" to Reese.
The very next day, I went into labor with our third child! Besides getting a "Happy Birthday", the poor girl did not get the celebration that this much anticipated birthday deserved! She did get to go out to dinner at the restuarant of her choosing (Chik-Fil-A) and go shopping with her grammy, which made her feel pretty special!

We had planned to hold a birthday party with my in-laws that weekend, so after getting home from the hospital, we went into full party prep! Actually, most of the preparations had been done long in advance, so it was just organizing the house after bringing home a truckload of stuff with us from the hospital!

Reese absolutely loves the movie "Tangled", so we decided on a Rapunzel themed party. I started with the invitations several weeks ago. Being pregnant, crafting invitations was a perfect activity to keep me busy while spending the evenings with my feet propped up. I combined 2 different invitation ideas that I found on Pinterest to create our own unique invitation.


Another project that I worked on while propping my feet up, was the banner. I used a cut out of the sun motiff and attached it to a piece of purple cardstock. I then strung the cards together with yarn and hung them throughout the house. We also had several different types of purple paper lanterns hanging in different areas of the house.

My banner was inspired by this one on Pinterest.


Finally, we put together a cupcake "cake" inspired by a cake I also found on Pinterest.


I baked a batch of cupcakes and frosted them all in green frosting and arranged them all on a platter. I then frosted the edge of an ice cream cone and placed another one on top. I added the cone castle to the cupcakes by using a toothpick inserted into the cone and cupcake. While I rolled out a few pieces of banana laffy taffy to make the hair, I gave my daughter a package of edible flowers to add to the cupcakes and tower. Finally, using some frosting, I attached the laffy taffy braid to the tower and draped it through the cupcakes.


The birthday girl was completely spoiled by our wonderful families. Though she ended up having to share the birthday spotlight with her new baby sister, I think that she ended up having a perfect birthday!

Tuesday, June 5, 2012

Nesting Overdrive

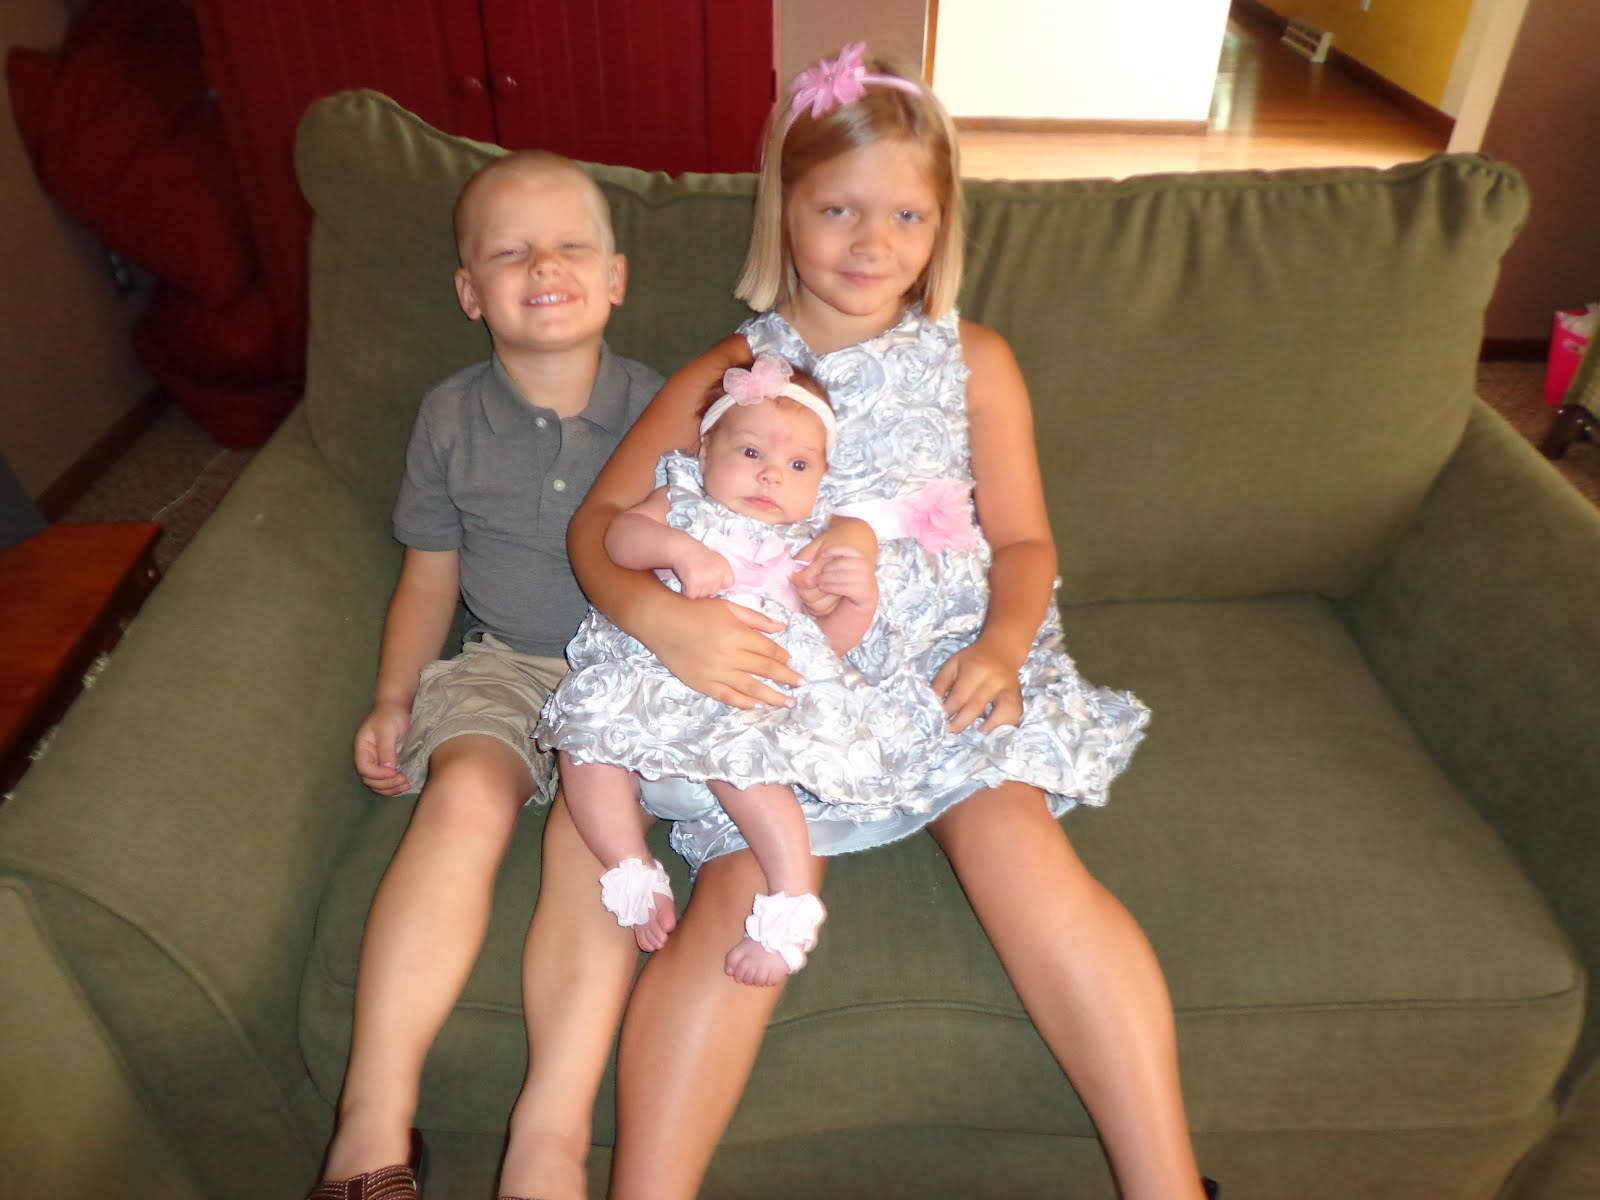
I have been off of work for a full week and I was determined to keep active rather than relaxing with my feet propped up. Now that I am at 38 weeks, my thoughts are that keeping active will encourage the baby to make his or her appearance sooner rather than later!
Monday was Memorial Day and we spent most of the day hanging out at my in-laws pool. It was great to be able to play with the kids, but be able to relax and stay cool at the same time.
While the kids napped on Tuesday, I started going around the house gathering items that I plan to sell at a garage sale later this summer. During the cleanout of my craft room, I came across 2 scrap pieces of fleece that were perfect for a project I pinned on Pinterest. I pinned this tutorial for car seat pillows several months ago and with a lot of travelling planned this summer, I really wanted to complete this project. The instructions were very easy to follow and I would have had both pillows done in one naptime, but I did not have velcro on hand.
Wednesday, my husband was out of town, so I tried to take it easy, I didn't want to go into labor when he was several hours away. I worked on school work for my summer class while the kids played outside. That evening we went to town and ran a few errands, to purchase supplies to work on a few projects on my to do list. We also purchased and put together a few deck boxes to store our patio cushions in.
Thursday was rainy and gray. Rather than sit around the house watching movies and tv, I pulled out the gallon of oops paint that I finally purchased for my son's room and got to work. You can see a before of the room here. I took time off that afternoon to go to the doctor and received the disappointing news that I was not even close to going into labor. That renewed my energy to finish the painting that evening after dinner!
Friday, I finished painting my son's room and then took the kids to walk around the zoo. We walked for at least 2 hours before heading home for lunch. While the kids napped that afternoon, I worked on cleaning the house. That evening we went out to dinner and a party to celebrate my father-in-law's 15 years of service.
Saturday we attended my daughter's last soccer practice/game and then spent several hours running errands and getting groceries. That evening I spent several hours in the kitchen preparing 5 loves of stromboli. We planned to take some out on the boat with us the next day and then I figured that we would have a few loaves prepared for meals while I was in the hospital or soon after I got home.
Sunday morning I woke up before Randy and the kids and decided to take advantage of the time to work on another Pinterest project. I pinned this nursing cover project several weeks ago and decided to go ahead and complete one with a blue checkered fabric that I had on hand. Though we are not sure what we are having, I think that the pattern is kind of feminine even though the colors may be more masculine. The cotton fabric that I had was light and see through and therefore not so well suited for a nursing cover, so I ended up lining the whole cover with a white cotton fabric. We then spent the rest of the afternoon on the boat at the beach. Thankfully, the kids were happy to splash and play in the sand while I sat back and relaxed. After eating a quick dinner and bathing both kids, we were all in bed by 9pm. It was a crazy busy week, but with our third child due in about a week, things are only going to get crazier!

Saturday, May 12, 2012

Nesting has set in!

Well, it finally happened! At 34 weeks pregnant, I could not take it anymore and just had to decorate or improve something! I had chosen not to find out whether we were having a boy or girl at our ultrasound because I wanted to be able to relax and enjoy this pregnancy rather than spending the entire time wrapped up in preparations like I was with my first two pregnancies. Last week, I reached a breaking point where I just had to do something and while my husband was out of town, I decided to finally paint my daughter's bedroom. Although we bought paint when we moved into our home over 2 years ago I never got around to painting. Here is how the room has looked pretty much since moving in:


I had chosen a light purple color from my daughter's rug and bedding. I painted one wall and immediately knew that it was not the right color. The color was too light and actually looked almost white. With white furniture and ceilings, the room was not gaining any personality. I planned to let the paint dry and add another coat to see if I could make the color work. So I packed the kids into the car and went to pick up some supplies. While shopping, I decided to check the mistint section and found a lovely shade of lavender. I immediately grabbed it up and put it into the cart. We got the rest of our supplies and I rushed home to get a coat onto the wall. With the first brush strokes, I was in love! I got one coat on about half of the room before it was time for bed, so I cleaned up for the night and tucked the kids in. The next day I added a second coat to get even coverage on the textured walls. I was stiff and sore from all of the bending and crouching, so I took the next day off. Over the weekend, I finished the other half of the room, despite my daughter's protests that I leave the room half painted! My little princess absolutely loved her room! She loved it so much that I could not get any shots of her new room without her dancing through the middle of the photo!
The change in the wall color made a huge difference in personalizing the space, but I have a few more ideas that I hope to work on over the summer and after the new baby is born! Though I love how the room turned out, I am ready to rest these last four weeks!

Wednesday, May 2, 2012

The time I almost killed my husband

You will not find a lot of recipes on this blog because I am not much of a cook (as this story will illustrate), but I felt that this tip that I learned from my mother-in-law needed to be shared! Soon after I met my know husband (almost 11 years ago) I invited him over to my house for dinner. I planned to make spagetti because I figured that everybody likes spagetti and there is really no way to mess it up. I could not have been more wrong! So the day of the big dinner arrived and I went shopping for the ingredients and spent the afternoon preparing our meal. When my boyfriend arrived he commented on how delicious everything smelled and we sat down to eat. He was a football player, so of course he was a big eater and he gobbled up 2 servings of spagetti. After cleaning up we went to relax and watch a movie in the living room. Soon after the movie started he excused himself to go to the restroom and spent the rest of our romantic evening in the bathroom! Later when discussing the source of his abdominal discomfort, I revealed that I had fried the burger in a frying pan just like my mom had done for my entire life. At that time, my boyfriend revealed to me that his mom boiled their hamburger rather than frying it. We knew then that the difference in cooking methods had meant more grease than my boyfriends stomach could handle. I was immediately intrigued by the concept of boiling hamburger and had to ask his mom about her method. It really is just as simple as it sounds, boiling hamburger in a pot of water just as you would do with noodles. I buy the leanest ground beef that I can, usually 93/7, and break it up in a pot of water. I then bring the water to a boil, stirring occassionally until the hamburger has completely browned.
Finally, I dump the pot into a strainer and strain away all of the water and grease.
This method of boiling hamburger creates small pieces of meat that are perfect for spagetti as well as tacos. And not only does this method produce a less greasy and healthier hamburger, it also keeps the house from smelling greasy.
Most peoples reaction when I tell them about boiling hamburger is similiar to mine (disbelief), but since trying it 11 years ago, I have never fried hamburger again! Though I continue to do most of the cooking for my family, I have also adopted several of my mother-in-laws recipes, and thankfully have never again made someone ill with my cooking!