
Once I got the supplies home, I covered the front of the plywood with several coats of white exterior satin latex paint.

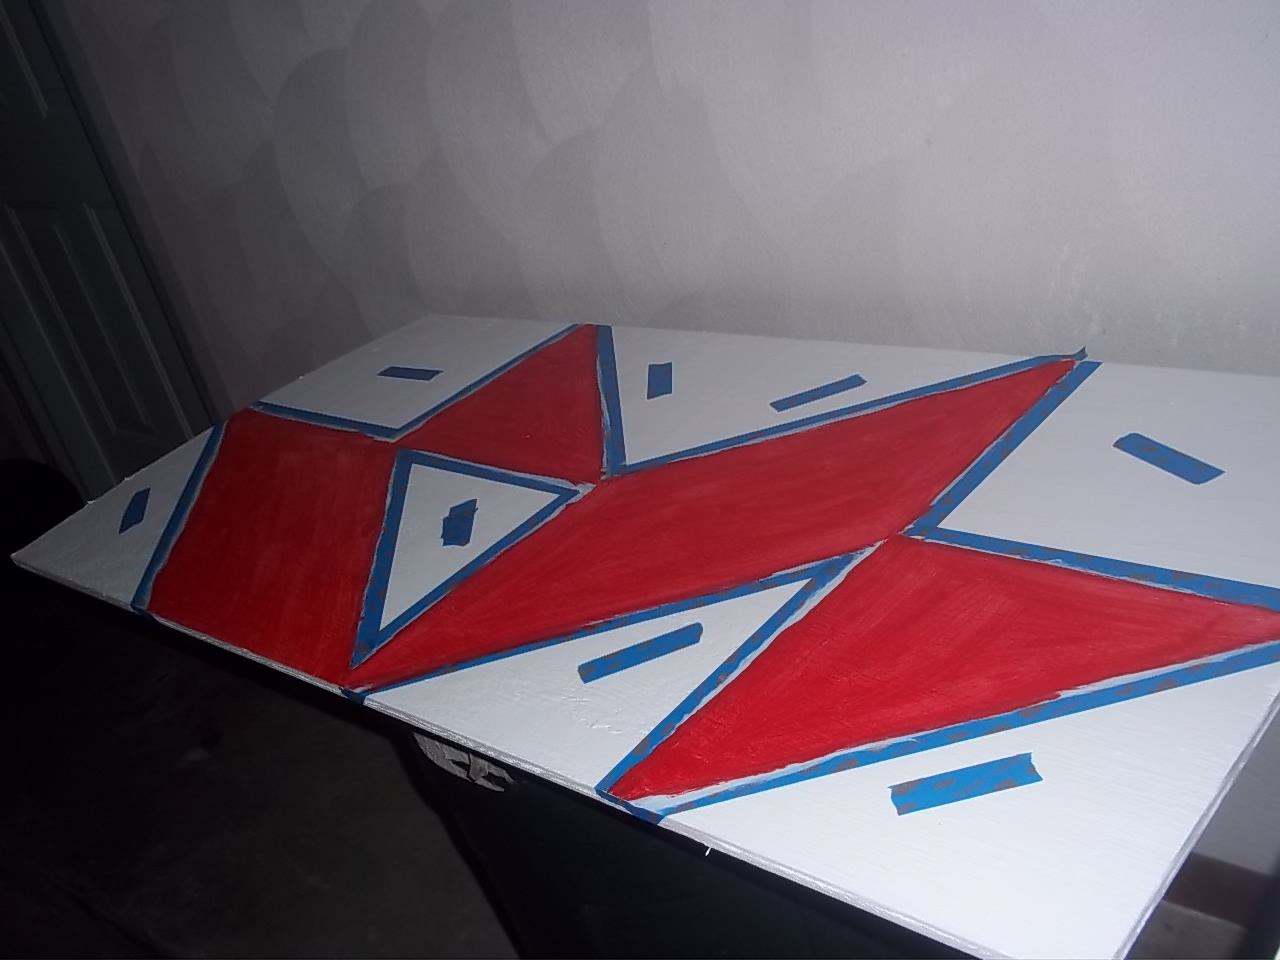
Once it was sufficiently covered and dry, I measured out and drew boxes around one foot sections. I followed the pattern that I chose to then divide the boxes into triangles. Finally, I taped off the sections that would be painted another color. I placed the tape so that I would paint over any pencil lines and then painted a light coat of white along the edges to lock the edges and prevent any bleeding.


I also added a strip of tape to the sections that would not be painted as a reminder to myself! I didn't want to get caught up in the painting and accidentally paint the wrong part. After the paint dried, I added several coats of my red exterior paint.

I removed the tape almost immediately after I finished the third coat. Once it was completely dry, I moved the two halves together to see the finished product.

I loved it! Though the front was finished, I realized that in my haste to see the final product, I had neglected to paint the back sides of the plywood. With the barn quilt hanging outside, it would be necessary to coat the back side of the quilt to protect it from the elements as well. I flipped the pieces over and painted the back sides as well. Now that both sides are painted, I still need to add a clear coat to both sides to give it extra protection from peeling and cracking.
We finally had our family Christmas this weekend and I was so happy with my mom's response!


She absolutely loved it! I told her that I had not sealed it yet as I was not sure if she wanted to change anything or add more color to it. She immediately responded that it was perfect. She said that she has seen smaller 1ft x 1ft squares where family members choose a design that they like and each paint one to represent themselves. I told her that I had plenty of supplies left, so I guess I know what we will be doing this summer! I am so excited to try out some more difficult patterns and to see what each family member picks out for their favorite design.
No comments:
Post a Comment